install.packages("tidyverse", repos = 'https://cran.us.r-project.org')
This is a beginner guide that is designed to save yourself a headache and valuable time if you decide to install R yourself.
Original post published outside my blog on May 17th, 2018. I decided to edit the videos with kdenlive again and create both a new post and video.
Motivation
This is a beginner guide that is designed to save yourself a headache and valuable time if you decide to install R yourself.
I am a professor and I don’t like to spend one hour of the class or workshop installing R. To tackle that problem I polished these instructions over time by doing experiments with different machines in order to maximize the in-classroom experience.
What you’ll find here is a collection of lines of code that work when installing R, and of course I tried a lot of things that didn’t work before obtaining the actual result.
R and RStudio
This setup aims to install both R and RStudio. You can think about installing R as a buying car and about installing R and RStudio as buying a car with all the accessories for a better user experience.
R refers to a software environment that comes with a GUI (Graphical User Interface). R GUI looks more similar to the old DOS console than to SPSS or Stata.
RStudio is an IDE (Integrated Development Environment) that makes R easier to use and is more similar to SPSS or Stata. It includes a code editor, debugging and visualization tools. Please use it to obtain a nice R experience.
The Tidyverse
The Tidyverse provides a set of packages that augment R capabilities and share an underlying design concept.
A remarkable example is dplyr, a package that really simplifies data manipulation. Just as an example it provides, among other functions and capabilities, group_by and summarise functions to perform operations such as SUMIF or SUMIFS from Microsoft Excel.
If you want to create plots from R, the Tidyverse provides ggplot2 package for plots creation. There are really good tutorials to learn ggplot2. Jodie Burchell and I wrote The Hitchhiker’s Guide to Ggplot2 that you can download for free.
Another cool feature is that the Tidyverse provides haven package to import/export data by using SPSS, Stata, and SAS formats.
Instructions for Mac users
Install R and RStudio
Installing R on Mac can be problematic. What I’ve heard from my students is that software dependencies can be a huge problem when installing not just R but also Python, Ruby and more tools.
Does it have to be problematic? The easiest option to install R on Mac is to use Homebrew that is a package manager that will do everything for you when you input short commands such as brew install r. In order to install R in this way you need to:
- Install XCode Command Line Tools
- Install Homebrew
- Finally install R
You can download R for Mac from CRAN website, and Medium provides a good tutorial for that alternative, but my students complain about that installation method. Some of them have faced problems to complete the installation doing that but they had no difficulties when choosing Homebrew alternative.
I highly recommend to install R with OpenBLAS. In plain terms, OpenBLAS will boost some operations and I want you to be a happy user. You can ignore this advice if you are going to work with relatively small datasets.
Between steps three or four just choose what you think is more suitable for you. Don’t complete step three and then step four or you will waste time as step four will replace all what you did on step three.
Step 1: Install XCode Command Line Tools
Compiling software on OS X requires XCode CLT, and installing R requires compiling at some steps so there is no scape from this part.
Open the Terminal (cmd + space and search ‘Terminal’) and paste this command:
xcode-select --installThen hit enter and wait a minute. If your computer already has this software you will see a message warning that XCode CLT is already installed, otherwise it will take a moment to automatically download and install the software.
Step 2: Install Homebrew
In order to install Homebrew paste this command in the terminal:
/usr/bin/ruby -e "$(curl -fsSL https://raw.githubusercontent.com/Homebrew/install/master/install)"Then hit enter and watch a lot of code and emojis appear on the screen.
Now you would want to configure Homebrew path. You just need to run this just once and then experience the magic. The reason to do this is that this is the way to tell your system where Homebrew software can be found on your hard disk.
Paste this piece of code in the terminal:
# Homebrew PATH
echo "export LC_ALL=en_US.UTF-8" >> ~/.bash_profile
echo "export LANG=en_US.UTF-8" >> ~/.bash_profile
echo "export PATH=/usr/local/bin:$PATH" >> ~/.bash_profile && source ~/.bash_profile
As you might guess, you need to hit enter after pasting it.
Step 3: Install R without OpenBLAS
We have already installed XCode CLT and Homebrew. So now paste this piece of code in the terminal:
brew install r
echo 'Sys.setlocale(category="LC_ALL", locale = "en_US.UTF-8")' >> ~/.bash_profile
Hit enter and something good will happen.
Step 4: Install R with OpenBLAS
This is very similar to the last step. Paste this piece of code in the terminal:
brew install openblas
brew install r --with-openblas
echo 'Sys.setlocale(category="LC_ALL", locale = "en_US.UTF-8")' >> ~/.bash_profile
Hit enter and something good will happen.
Step 5: Install RStudio
Finally paste this piece of code in the terminal:
brew cask install rstudioHit enter and you’ll be ready.
Instructions for Ubuntu users
Install R and RStudio
You should install R with OpenBLAS. In plain terms, OpenBLAS will boost some operations and I want you to be a happy user. You can ignore this advice if you are going to work with relatively small datasets.
Installing R on Ubuntu is simple, amazingly simple! We can install R, RStudio and the Tidyverse in a super simple way compared to Windows or OS X way.
Between steps one or two just choose what you think is more suitable for you. Don’t complete step one and then step two or you will waste time as step two will replace all what you did on step one.
Step 1: Install R without OpenBLAS
Open the terminal and paste this piece of code:
# R without OpenBLAS
sudo apt-get install r-base
Then press enter.
Step 2: Install R with OpenBLAS
Open the terminal and paste this piece of code:
# R with OpenBLAS
sudo apt-get install libopenblas-base r-base
Then press enter.
Step 3: Install RStudio
Don’t leave the terminal and paste this piece of code:
sudo apt-get install gdebi
cd ~/Downloads
wget https://download1.rstudio.org/rstudio-xenial-1.1.379-amd64.deb
sudo gdebi rstudio-xenial-1.1.379-amd64.deb
Then press enter.
Another install option is to visit RStudio to obtain the software and then install it from the desktop without needing commands.
Instructions for Windows users
Install R and RStudio
My experience with Windows and R went from tragic to amazing. What made my R and Windows experience amazing was Microsoft R Open that is an R instance that comes with Intel MKL, a numerical library that increases speed for some operations, enabled by default.
In any case you can always install Stock R. Please notice that here you may choose step one or two but not both as it would be quite un productive. After you complete one of the two first steps then go for the next steps.
Step 1: Install Microsoft R Open
To install R on Windows just download it from MRO Downloads and then execute the installer. The setup is straightforward, just hit ‘next’ when required and be sure you mark the MKL option.
Step 2: Install CRAN R
As an alternative to step one you can install from CRAN (The Comprehensive R Archive Network). Just visit CRAN downloads and get the last version.
Step 3: Install RStudio
To install RStudio just visit RStudio Downloads and download the last version. The setup is straightforward and simple.
Install the Tidyverse
Open RStudio. These steps are the same for any operating system.
In RStudio bottom left panel you can type any valid command followed by enter and R will execute that command.
Paste the next line in the bottom left panel:
Then hit enter and you’ll get a nice R setup ready to rock!
Install More R Packages
Beyond the Tidyverse are more useful packages.
Some of my daily use packages are:
XML: Read and create XML documents with R.jsonlite: Read and create JSON data tables with R.httr: A set of useful tools for working with http connections.rvest: Very useful for web scraping.
You might think that this is the way to install these packages:
install.packages("XML", repos = 'https://cran.us.r-project.org')
install.packages("jsonlite", repos = 'https://cran.us.r-project.org')
etc...
But there is a more convenient way:
install.packages(c("XML", "jsonlite", "httr", "rvest"))Check that everything works
In RStudio go to File, then to New File and then click R Script. On the new blank script try to write this code:
library(ggplot2)

ggplot(airquality, aes(x = Day, y = Ozone)) +
  geom_point()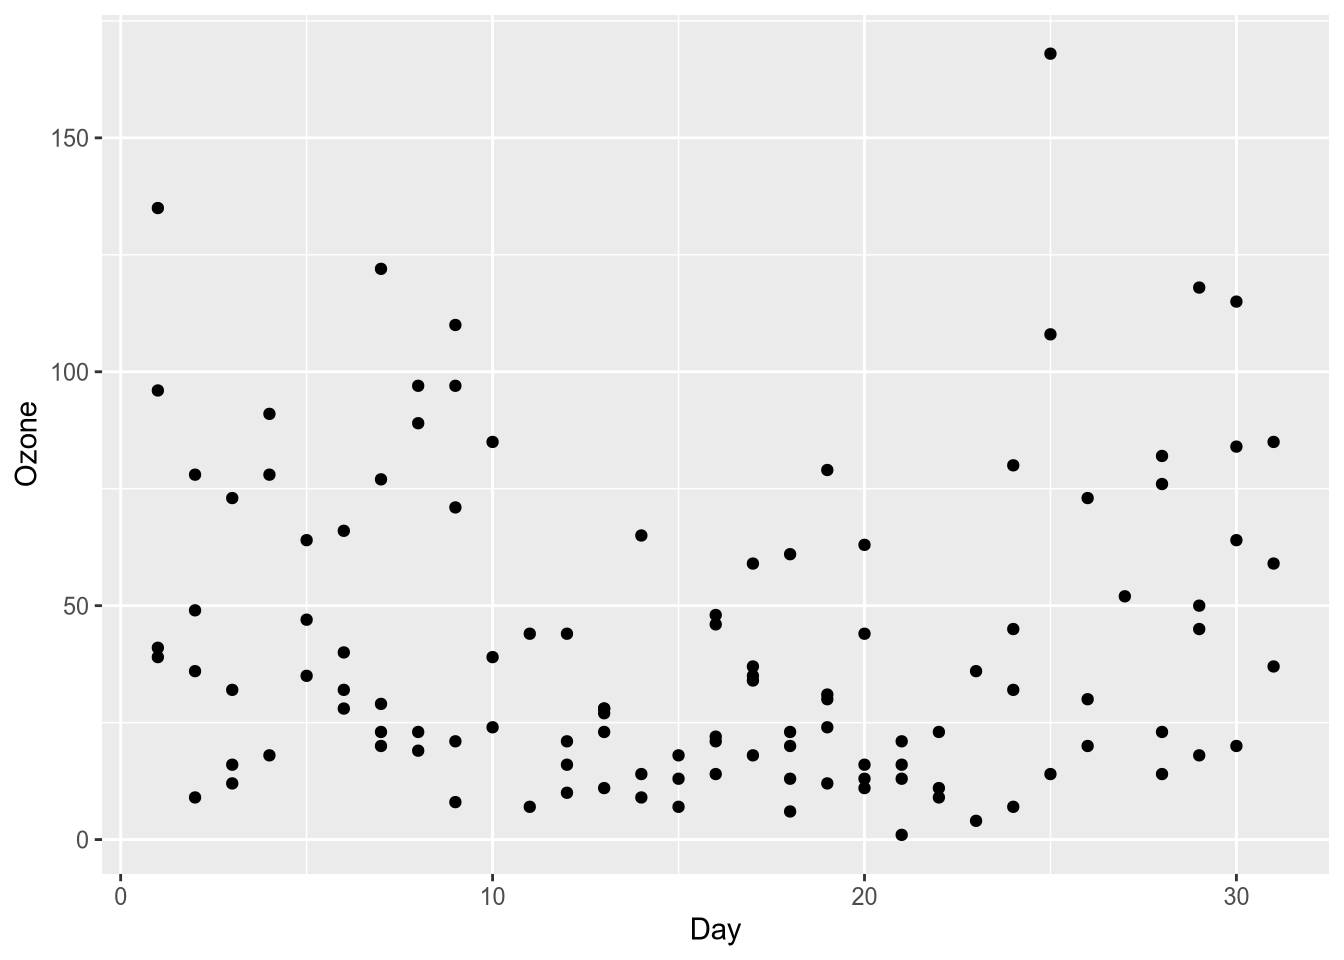
What that code does is to load ggplot2 and instruct it to use airquality, a dataset that comes with R, to plot Day versus Ozone.
We need to load the packages because if R fresh install would come with the more than 10,000 existing packages the download would be really large and loading all the package when opening RStudio would be extremely slow.
To run your code select the lines and press ctrl + enter (or cmd + enter if you have a Mac). If everything worked the plot should appear on the bottom right panel.
RStudio Aesthetics
I do recommend editing the colors to reduce eye strain. To edit the colors in RStudio go to Tools, then to Global Options, and finally to Appearance.
I personally like Cobalt theme with Ubuntu Mono font provided I code all day long.
Take the most out of this tutorial
In the past I’ve uploaded tutorials and exercises to DataCamp. After the events revealed during the first week of April, I’ve decided to remove the videos from the platform and stop recommending to use their services.
Here’s a good recommendation from Jesse Mostipak:
so you've heard about DataCamp and want to leave the platform, but aren't sure where to go for your #rstats learning. well friends, you can start here:
— Jesse Mostipak (@kierisi) April 5, 2019
🌊 https://t.co/SOIXekQIYL
💻 https://t.co/jHS4SXhYQZ
📊 https://t.co/xhVR2IQYl7
🦜 https://t.co/G442ZY0Ny8